Monday, May 8, 2023

Art Journal - Bee happy

 Hi, 

Today the sun is shining, and you really trust the feeling that spring is finally here. It feels like today is going to be a good day and what better way to start it than to share my new art journal layout with you. I`m totally in love with how this one turned out.


While I picked up some groceries on Saturday I came across these adorable napkins that I just got so many ideas on how to use in my crafting. On one part you got these bigger bees and on the other side they where smaller and lots more all on top of these pale yellow polkadots.


Cute.. But now back to my art journal pages. I skipped one page and started to create my background with Distress inks in Tumbled glass, Peacock feathers and Faded jeans. I spritzed on a good amout of water letting the ink do its thing before letting it dry completely. Splatters in Walnut stain and white gesso with my fan brush. I put my crafting mat under the page I wanted to cut in as not to ruin the other pages in my book, and used some round Spellbinder dies as my guide as I carfully cut out the three circles with my craft knife. Then I cut out the scallop borders with my X-cut nesting dies in brown cardstock darkening the edges with Walnut stain. The circles dont have a perfect match and since I didn`t want two offset circles on the same page I cheated and ripped the smallest one and adjusted it to fit hiding the overlap under my bee. 


Fore my page behind I peeled off the back layers of my napkin and placed it the way I wanted the bees to show up peeking through the circles and glued it down and sealed it well using mat modpodge. I also did the same with the bigger bees on a pice of cardstock before I fussycut them when they where dried  completely. Before I glued them down I traced all around the edges with a black marker as not to leave a white border.


I went ower the wing with the lightest blue Copic markers to tye everything together using the colors B0000-B000-B01. It`s extremly important that the modpoge is completely dry before you color ontop of it since the glue will destroy your marker nib if still wet.


I darkened the edges of the papers with Faded jeans and Walnut stain and cut out the letters for my motivational words on black card stock. The word happy is from the Tim Holtz booklet. I used my Sakura gel pen and a black pen to add some finishing touches.


I just love the outcome of this and how fun and cute it is with the bees from the napkin peeking through from the pages underneath. 


I`d like to enter this in:

Colorful Options: May 2023 Blue - second entry

Simon Says: Paint It | (simonsaysstampblog.com) - second entry

Simon Says: No Patterned Paper | (simonsaysstampblog.com)


Thank you for stopping by, I hope you liked it and that you got inspired to create yourself a happy day crafting.

- Christine


Friday, May 5, 2023

Fun and easy shaker card

 Hi,

My son is going to a birthday party to a friend tomorrow so I decided to make a fun, easy shaker card. Now being a boys mom I realized that I really don`t have that much paper fitting to a 7 year old girl, but then I found the old beautiful Enchanted Garden papers from Kaisercraft and I think they fit perfect for a girl that age. 


I cut out two ballons using dies from an old  Lalaland club kit and cut out the ballon threads in glossy silver cardstock to add som bling and interest to the card.


I glued on a pice of acetate sheet behind the cut out balloon shapes before I popped on foamtape around each balloon cut out taking care not to leave any gaps. I also used foam tape around the whole panel to even out the card and glued it on to my cardbase. Then I filled my balloon shaped windows with some silver sequence, a bit of shaved ice and some tiny pink pearls. A pink flower to gather my balloon threads and the card is done.


For my inside I kept it clean and simple, just using a part of the paper to write in a personal birthday greeting.


Thank you for stopping by, and I hope you got inspired to create yourself a happy day crafting.

-Christine

Tuesday, May 2, 2023

Art Journal - Blessed

 Hi,

Today I`m back with a colorful double page art journal layout that has a very personal meaning to me.

This layout represents my children and how blessed I feel having them in my life. The three hearts hangind from the sign pole are my boys and the little pink heart is my little angel and my first pregnancy where I went into labour to early. When I got pregnant again I praid for a boy and now I`m blessed with tree. I wanted this layout to be bright, happy and colorful because this is my story and I feel so lucky to be blessed as a boys mom of three.

To get the fun and happy colorful page I wanted I used Dylusions paints both on my background and on my hearts and leafs. For my background I applyed the color with a baby-wipe and then dabbed on the same color using a Tim Holz stencil. I then stamped around randomly with a script stamp using blue distress ink. For my heart and leafs I colored up some paper in the colors I wanted and used my scissors to cut out the hearts and used Lorelai Leaf die from Poppystamps for the leafs.


For the sign pole I sketched out the shape I was going for with my pencil on some wood texture papers from Simple Stories. I used an eyelet to put them together and threaded it with some twine. On the ends I tied in some Tim Holtz typed tokens with the words "Story" and "Lucky" and I think they where just perfect here.


I also used some twine to hang my three hearts from the sign, and I think it really adds some interest 
to my page.


This is actually the first page in my Dylusions art jounal that I saved to do this personal layout on, and I`m really happy with how this turned out. Hope you like it as much as I do.


I`m entering this in:

Simon Says: Anything Goes | (simonsaysstampblog.com)

Simon Says: Paint It | (simonsaysstampblog.com)

Colorful Options: May 2023


Thank you for stopping by and I hope you got inspired to create yourself a happy day crafting.

-Christine

Friday, April 28, 2023

2 page Art Journal - Travel, Blue Dream

 Hi, Today I`m sharing a double page layout and it`s my first time playing in my small Dylusion art journal. I`m actually working on the secon page, since I have something special in mind for my first page wich I will share with you soon.

I`m totally in love with how this layout turned out. I used papers from the beautiful Blue Dream collection from Stamperia. I`m just so in love with this paper collection, and I actually bought it to make a mini album from a trip to Gran Canaria with my dear friend but I couldt help myself from diving a tiny bit into the beautiful papers already, making a travel, sea and summer themed journal page.


The borders and most of the elements are cut outs from the 12x12 paper pack, and and some elements are from the ephemera pack.  


For my background I used Distress Inks from Tim Holtz and I must admit this is kind of alian territory for me since I mostley used to copic color images and finnished of the card with pattern paper. I don`t have many colors, I have one round and one square old blending tool and for my vintage photo color I just held the foam with my fingers. Still, just playing around with different techneques like spraying water on the page, lifting color using stencil and dabbing on some ink in the two darkest color through my stencil. I`m super happy with how my background turned out. 

I did however get a dark color transfer smear just over the travel word when I was nearly finished, but I`m not going to let it bother me and take away the joy I feel from this layout. It`s part of my learning prosess, and remember- it`s just creative fun with beautiful colors, papers and ink. Don`t let small mistakes like that discourage you :)


And here are a few close ups showing the bautiful paper and the lovely background. I used wild honey, spiced marmalade and vintage photo distress inks. The stencil I used is called Compass and is from the Welcome home collection from Stamperia.
I finished of my project with my white Sakura pen to add some highlights.


I would like to enter this in:


Do you like to travel? I hope you got inspired to create yourself a happy day and enjoy some crafting time. Thank you for stopping by.

-Christine


Wednesday, April 26, 2023

Gorjuss - I gave you my heart

 Hi everyone,

Today I`m finally back with a Copic colored card. It`s been several years since I got to sit down and play with my beloved Copics and I had a really fun time coloring up this super cute Gorjuss girl image from Santoro. Need to practice to get back on track with my coloring again, but hopefully it will come back at no time if I color up regularly in the future. Anyway, I remembered why and how much I fell in love with my markers years ago and will for shure spend more time with them in the future :)


So, here she is - Gorjuss girl no 9 "I gave you my heart" stamp colored with Copic markers.


The beautiful papers are from Peon design. I love their papers, they are just so pretty. The one I used is from the old "Sagan om våren" collection and is devided in four 6x6 squares you cut out from a 12x12 sheet.


The sentiment stamp is something I had forever and I don`t remember where it`s from anymore.            I stamped the image and my sentiment with Momento Espresso since I just couldt find my black one, but I think it worked out great on this card.


I gave my Gorjuss girls wings by cutting off wings from a butterfly I had and popped her up on foam dots to make her pop up more from the background. I also put foam dots under the sentement.


COPIC MARKERS I USED:

Skin: E000-E00-E11-E21 -E04 and R20 for blush

Hair: E43-E47-E49

Dress: YR04-YR14-YR15-E15-E18 ( I think, I changed it up as I colored)

Socks: Grey W:03-W05-W07

On the rest of the white details: Grey C: C01-C03


I like to enter this card to Copic Marker Norge  #142 anything goes or find inspiration on the blog. I got inspired from the Tutorial on bright colors and dark shadows CopicMarkerNorge: Sterke farger og mørke skygger but ended up coloring the dress a bit more toned down.

I`m entering this card to 

Simon Says: Things With Wings | (simonsaysstampblog.com) and

Simon Says: Make Your Mark | (simonsaysstampblog.com)

Crafty Catz: Crafty Catz Challenge #634 - ANYTHING GOES with optional twist (craftycatzweeklychallenge.blogspot.com)

Thank you for stopping by,                                                                                                                           I hope you liked my card and that you got inspired to create yourself a happy day crafting. 

-Christine

Sunday, April 9, 2023

Enjoy life - mixed media layout

 Hi everyone,

Today I`m sharing a mixed media layout with a sweet and fun picture of my friend that I made for her birthday yesterday. We had such a fun day celebrating her with her family and friends.

She had posted her picture on FB a while back and I love the playful and flowery feeling this picture has. She also just has the most stunning eyes and the background really made her eyecolor pop beautifully. I`m so happy she let me post her picture here on my blog and I love how this turned out,

Sorry for the bad lighting in some of the pictures. 

I slightly cut down a 12*12 sheet and distressed and inked up the edges before backing it on to black chipboard. This both framed the layout and made the hole thing sturdy.


The background I actually made two times since I managed to tip my open bottle of my Lindys spay all over. So I had to layer up with gesso with both my spatula and a brush to push back the green from all over my sheet. So I lost some of the details in my stenciling, but just made a few more layers on top and I think I managde to save my background well, what do you think? 


I also stamped randomly to add some interest on my background and I applyed gesso to my honeycomb chipbord that I had in my stash. Flowers are from Prima and the glassbeads and glass glitter I added here and there to finnish everything off is from Finnabair.


I added some more texture and dimention behind the photo adding layers with corrugated chipboard, cardstock and some cheesecloth under the photo.


She actually has some flowers in her hair in the picture so I thouht it was a fun detail to play on and placed a pale blue bigger flower on her hair for decoration. The junkjard finding lightbulb from Prima with Enjoy and the chipbord with life makes the perfect positiv sayings for this layout Enjoy life. 


I hope that you liked my project and that you got inspired to create something yourself.

I`m entering this layout in Simon Says: Add Texture | (simonsaysstampblog.com)


-Christine

Friday, March 31, 2023

Art journal - She designed the life she wanted to live

Hi everyone,

I am having so much fun creating pages in my art journal, and today I am sharing a fun page from my art journal with lots of fun details. I really want to get a bigger size journal and one that is suited for two pages layouts aswell but for now I`m just enjoying creating with what I have. 

I started out with acrylic paints and I also went lightly over a stencil, dot fading, from Tim Holtz with the darkest of the three shades I used for coloring my background. I`m so pleased with the colors and the happy feel they give, especially since the weather here in Norway turned really cold and it started to snow again. Where did spring go to? :)


The scissors and the buttons are dies from an old La La Land craft club kit, the rest I sketched and cut out on black cardstock and embellished it with a flower. I dabbed the buttons with some of the same acrylic paint from the background to make it match the page. Strips of papers from old Prima paper.


To me the buttons just screamed for some thread so I sawed a couple of them with pink and black thread and just taped down the thread on the backside. This was not a problem since I`m working on watercolorpaper and glue down my page it in my journal.


Im entering this:

Thank you for stopping by, I hope you liked it and that you got inspired to create yourself a happy day crafting. :)

-Christine

Thursday, March 30, 2023

Art journal - Go where your dreams take you

 Hi everyone,

I`m uploding another mixed media page today and I just love how it turned out.

For the background I used Tim Holts distress inkpads, then I stamped the laceborder and butterflies with some old Prima stamps I`ve had for years, before using this great star stencil to create this magical sky. 

I was thinking of the contrast from day to night, light and dark, and the butterflies that symbols change, growth and new beginnings. So the stamp saying "Go where your dreams take you" fits perfect, don`t you think?


For the light bulb I scetched and cut out two layers of vellum, keeping the to part open so as if the butterflies come out from the light. 


I also placing one inside the bulb. The butterflies is from one of the most beautiful patternpapers I know of, the Mariposa paperpad.


Thank you so much for stopping by, I hope you got inspired to craft a happy day for yourself :)


Im entering this:

-Christine

Mini Album- Always and forever

 Hello everyone,

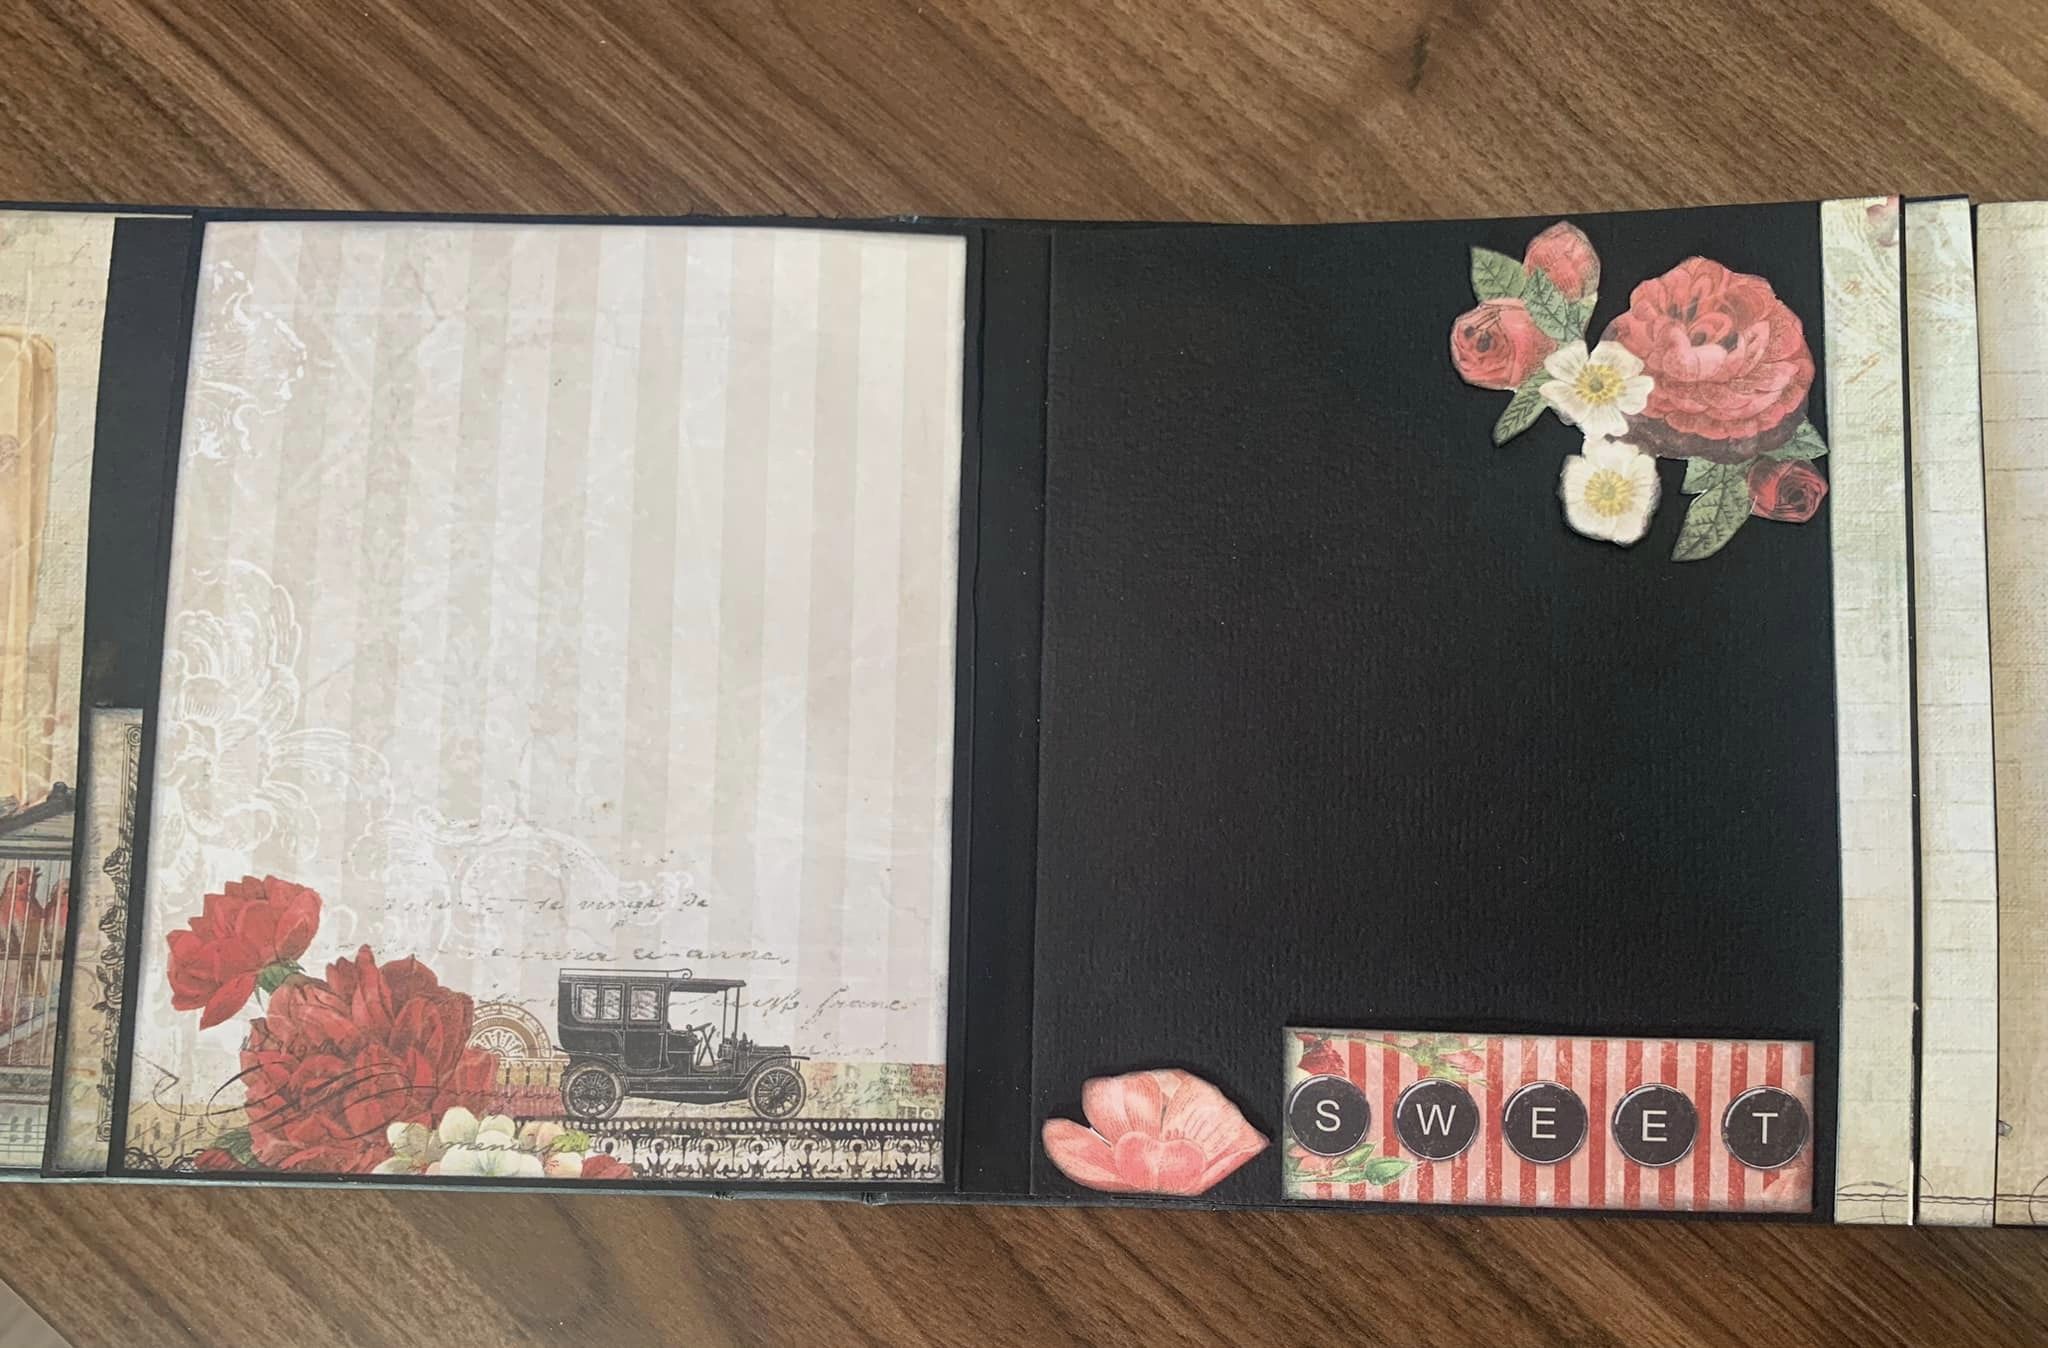
Today I have a mini-album to show you that I gifted to a wonderful couple that got married not to long ago. I've kept the pages simple and functional for photos and journaling and also felt that the lovely paper from Blue Fern Studios really came into its own right this way. 

I had so much fun creating this Always and forever Folio album, and the layout is pretty much from Scrap and coffee Down Under Folio cutting file. She is so talended and has so many functional albums for photos.


Lots of pictures, but not all pages are shown here.


I really hope they liked it, I sure had fun creating it.

Thank you for stopping by.

-Christine

Art journal - mixed media page

Hi everyone,

I have a new art journal page to share with you. 

This time i played with acrylic paints for my background and did som stenceling. To add some interest I used my watercolor pencils with lots of water around the flowers

For my focal point I used the lovely matching stamp and die set from Heartfelt Creations, Sun Kissed Fleur that I have had for years, and I stamped and heat embossed on vellum paper.  

The stamp with text is in Norwegian and it says " Today is the tomorrow you dreamed of yesterday"


First I tried to color the flowers with my copic markers after I stamped and heat embossed, but then I decided to color the vellum first and then stamp and heatemboss to get a nicer and crispier result.  


I really like the outcome of this and copic colored vellum is such a pretty effect!


Thank you for stopping by, se you again soon.

-Christine


My first ever mixed media art journal - The best is yet to come..

 Hi everyone,

After a long break for several years I felt like now is the right time to finally get back to what I really love- crafting. I`ve started my first ever mixed media art journal and I had so much fun creating this page.

I have so much to learn about the different products and techniques and I am really enjoying the prosess and hope you will come along on my journey.

So here is my first art journal page:


The papers I used are from an old collection from Prima called "Optimist", and I thougt they are perfect for my "This is me- the best is yet to come" page with all the positive different sayings on the paper background. Perfect for new beginnings :) Stencil is Harlequin from Tin Holtz 


I hope you liked it, and thank you for stopping by.

-Christine


Wednesday, November 5, 2014

La-La-Land October Marci


Hi,
I´ve been so busy lately so this is the first time I´ve had the chance to colour up Marci from the October club kit. She is just so cute! Used her on a birthday card to a colleague. Sorry for the poor photo quality. Took these last night with my phone. (literally :) )


Copic colours:
Skin: E000-00-21-11-04
Hair: E21-23-25-29
Clothes: B000-00-02-05-0,
W0-1-3-5-7-9 and
E41-42-43-44
Bird: W3-5-7, C1- E08, R05


 I used papers from Authentique. Dies are from La-La-Land 
and the beautiful flowers from WOC.

Hope you like my card,
thank´s for stopping by. :)